Installation
This guide walks you through the fomeOS installation process step by step. The fomeOS installer is designed to be able to make an full installation on offline and online environments.
Prerequisites
A USB drive or DVD with the fomeOS installer
At least 10 GB of free disk space
A computer with UEFI or BIOS firmware
Basic knowledge of BIOS/UEFI boot process
Step 1: Boot the Installer
Insert the fomeOS installation media (USB or DVD). You can use tools like Rufus or Etcher to create a bootable USB drive.
Restart your computer and access the boot menu (usually F12, F2, or ESC during startup)
Select the fomeOS installation media
Wait for the GRUB boot menu to load
Select “Start fomeOS 1 Installer” and press Enter to start the installation process
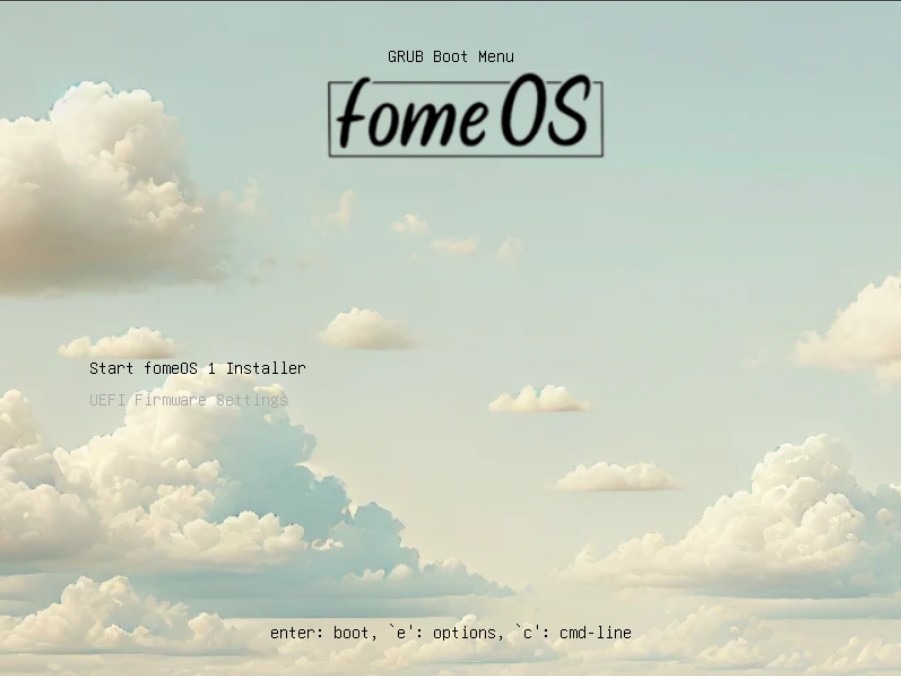
Starting the fomeOS 1 Installer from boot menu
Step 2: Accept the License
The fomeOS installer will display the GNU General Public License (GPLv2) agreement. You must accept the license terms to proceed with the installation.
Read the license terms carefully
Click Continue to proceed
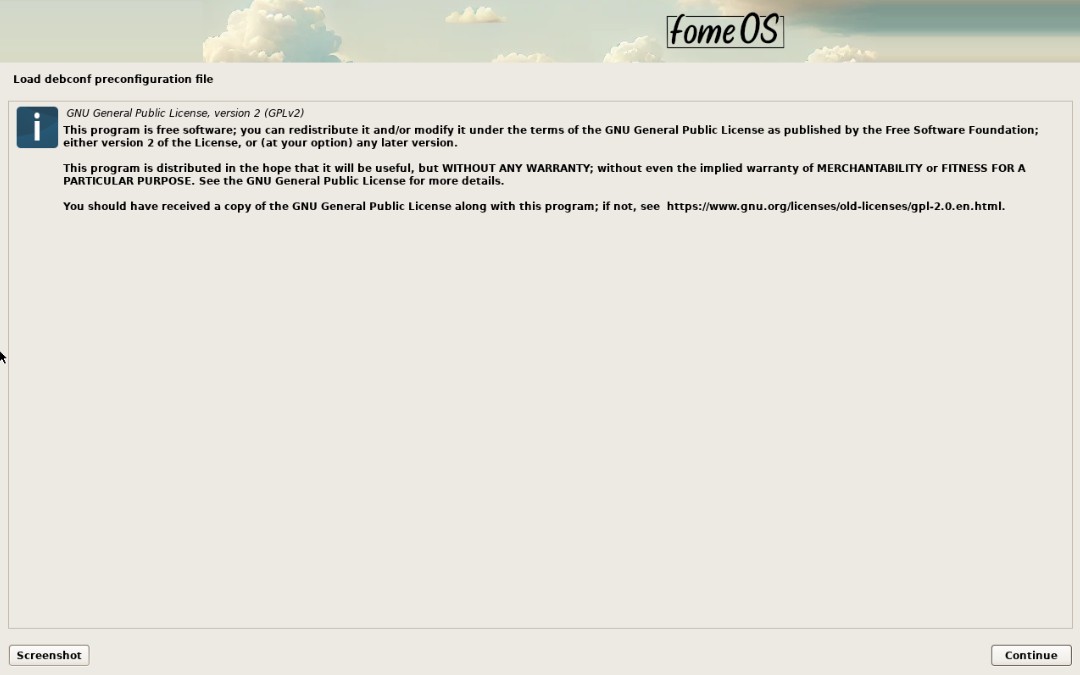
Review the GPL 2.0 License agreement
Step 3: Data Wipe Warning
⚠️ IMPORTANT: The installer will automatically partition the disks. If you choose “Continue”, ALL DATA ON ALL DISKS WILL BE ERASED.
Make sure you have backed up all important data
Verify you are installing on the correct system
Select Continue to proceed or Abort to cancel
Click Continue to proceed
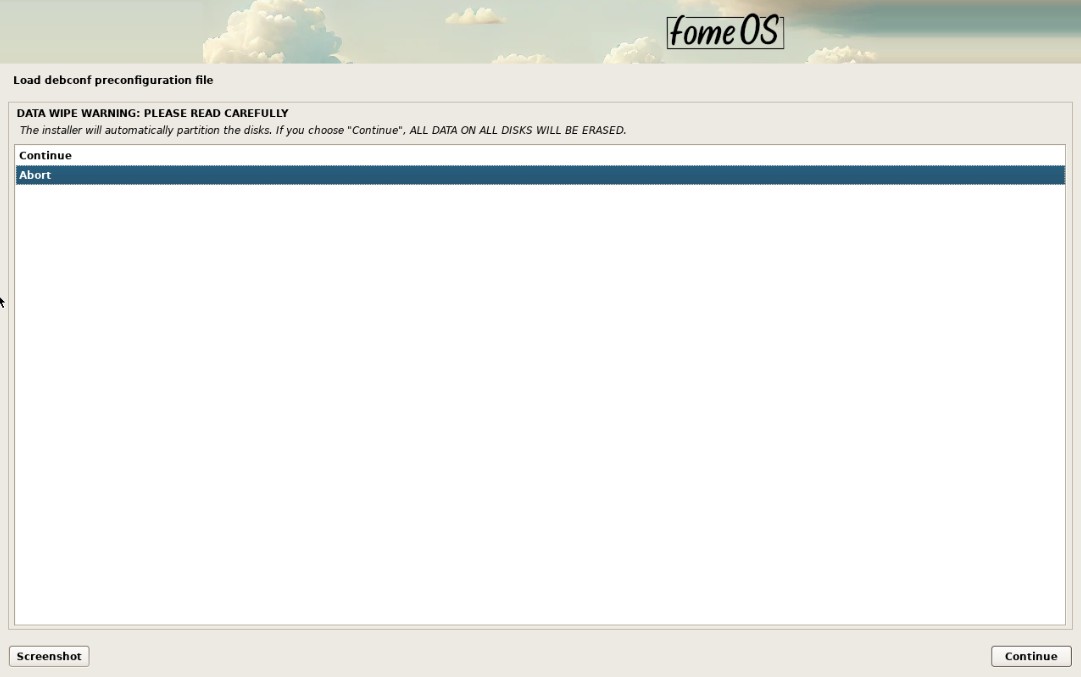
Important: Data wipe warning
Step 4: Select Language
Choose the language to be used for the installation process and as the default system language.
Select your preferred language and click Continue.
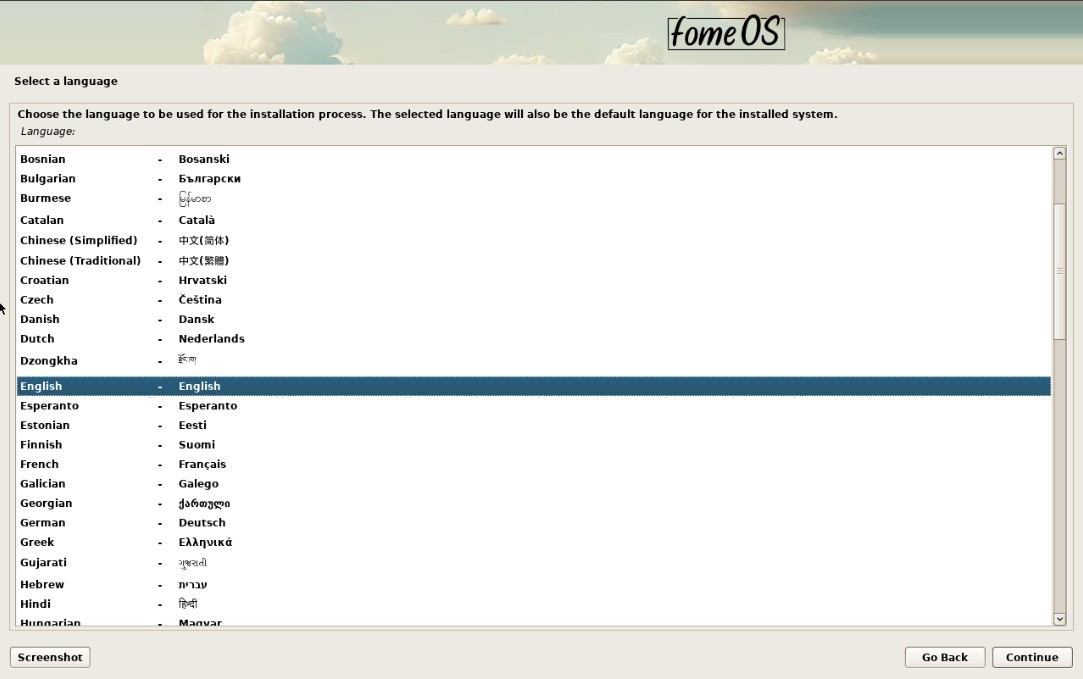
Choose your language
Step 5: Select Location
Choose your location to configure the time zone and system locale. The selected location will be based on the language you chose in the previous step.
Select your country/region and click Continue.
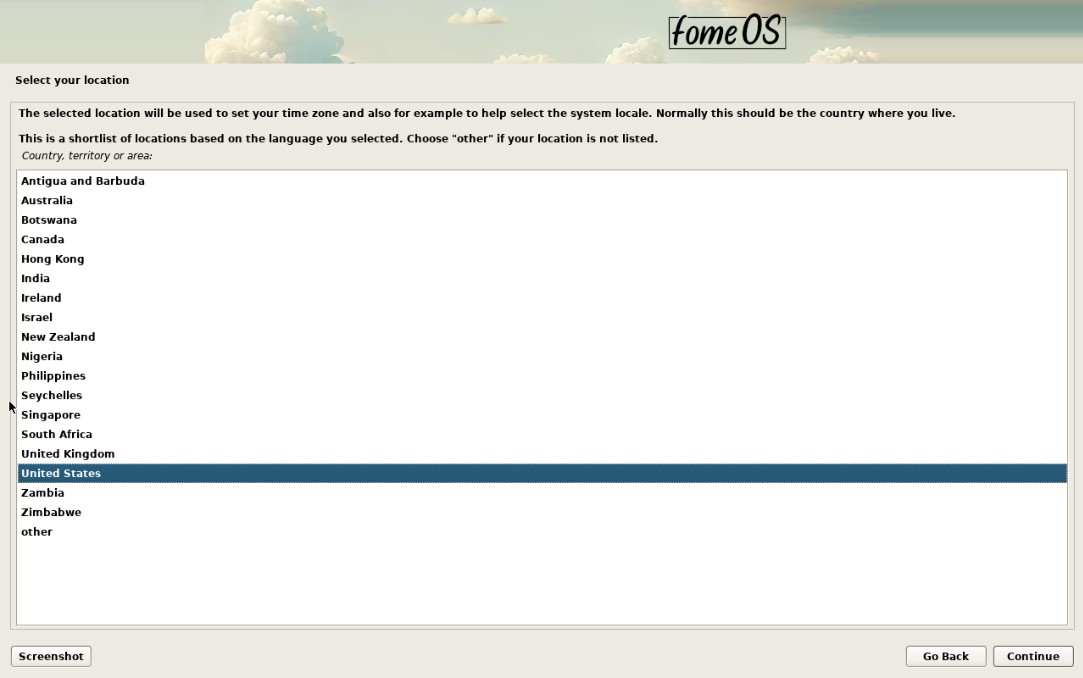
Choose your location
Step 6: Configure Keyboard
Choose the keyboard layout to match your physical keyboard.
Select your keyboard layout and click Continue.
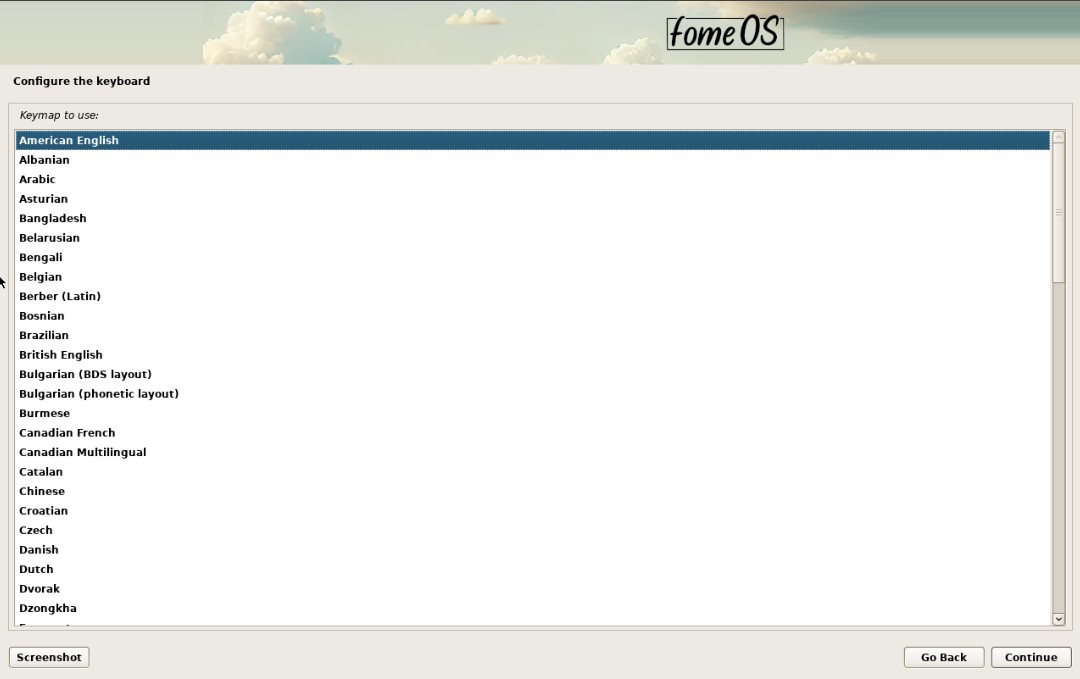
Select keyboard layout
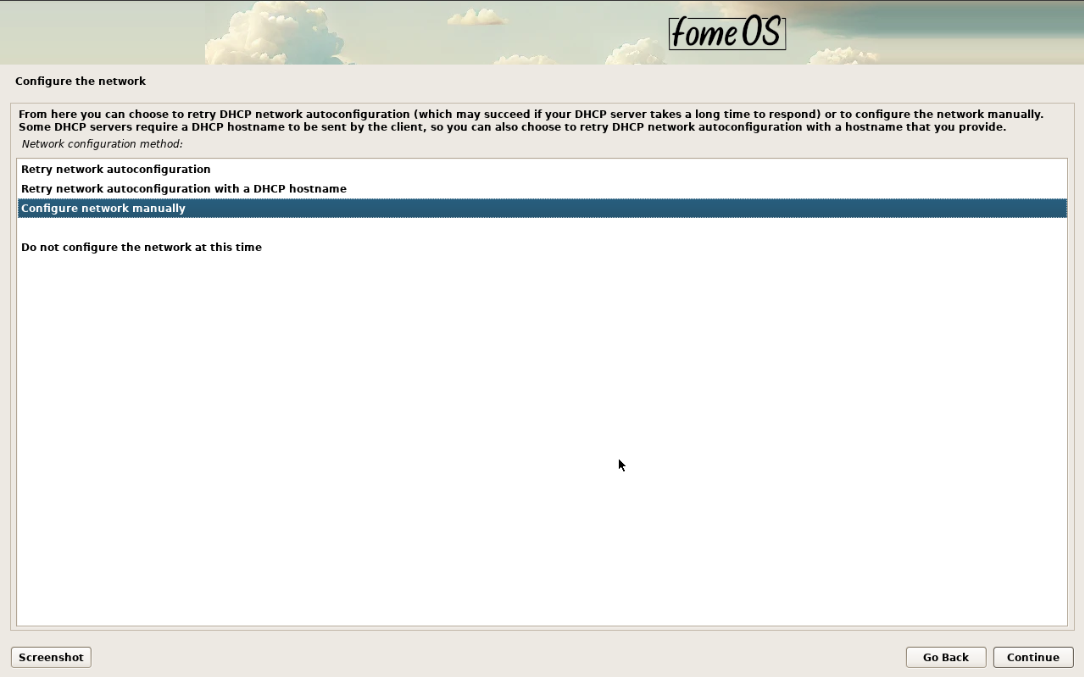
Step 7: Configure the network
If there is no DHCP server available, the installer will prompt you to configure the network manually.
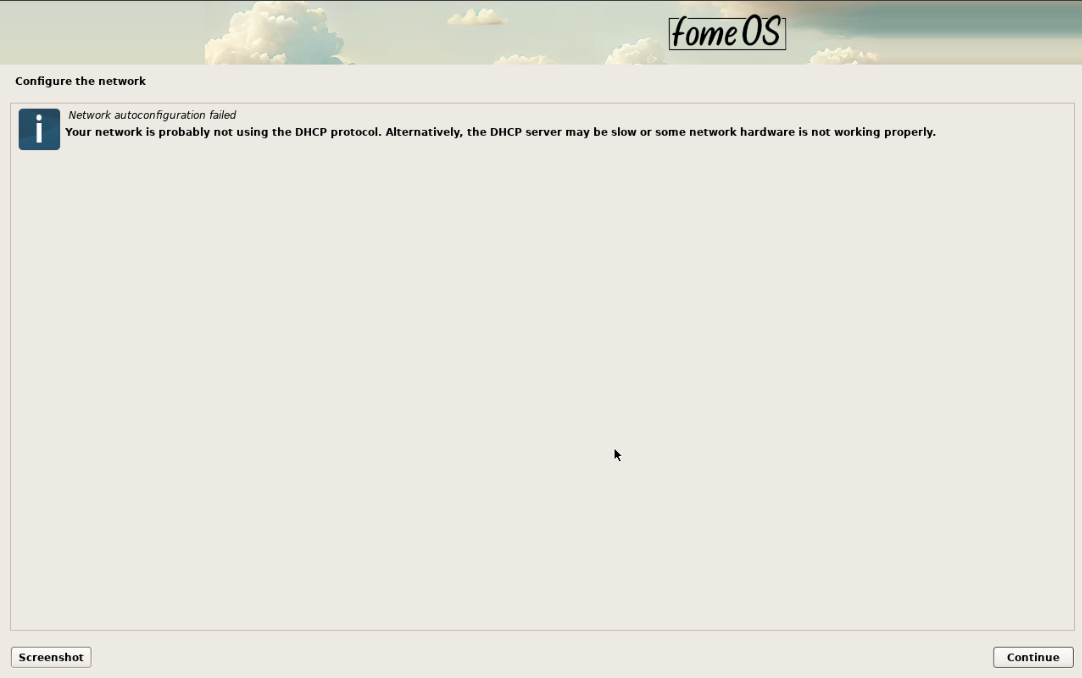
You can choose to configure the network manually or skip this step and configure it later choosing “Do not configure the network at this time”.
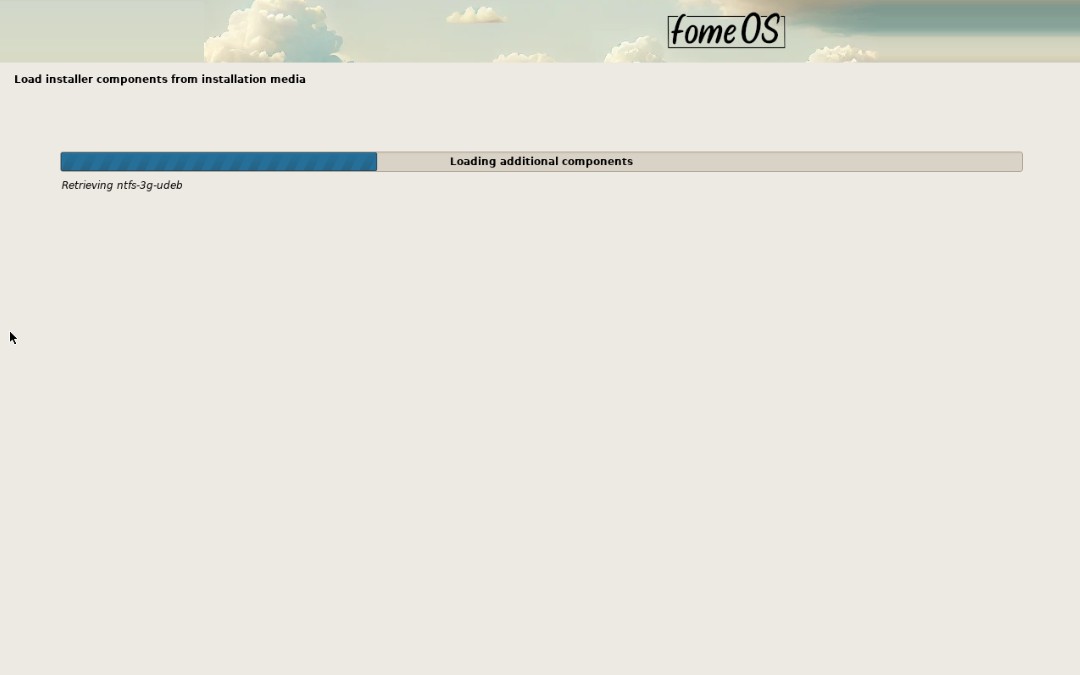
Step 8: Installing the system
The installer is now installing the system from the installation media. This may take a few minutes depending on your system. Do not interrupt this process.
Step 9: Installation Complete
Installation is complete! The system has been successfully installed on your computer.
Important steps:
Remove the installation media (USB or DVD)
Ensure you are booting into the new system and not restarting the installer
Click Continue to end the installation and reboot into your new fomeOS system
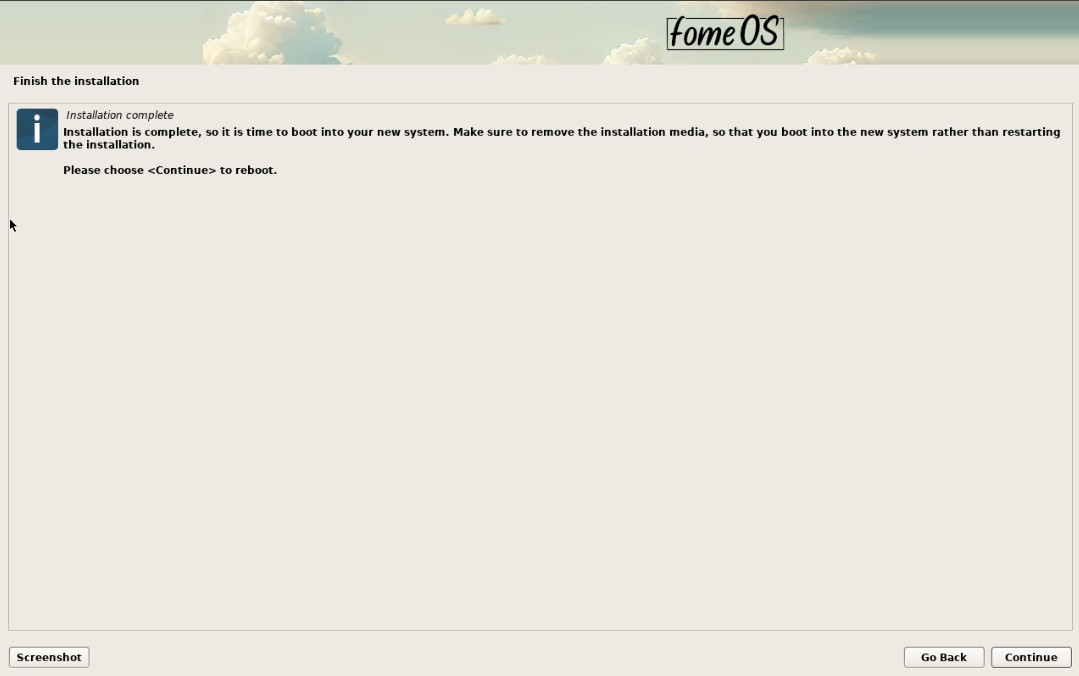
Installation successfully completed
Step 10: First Boot
After rebooting, you will see the fomeOS boot screen with the logo and a message to open the control panel. You have 4 seconds to press any key button to access the configuration interface. If you do not press it, the system will continue booting into the default kiosk configuration. By default, fomeOS launches a configuration login screen when it is freshly installed and before any configuration. This provides immediate access to system administration and configuration tools.
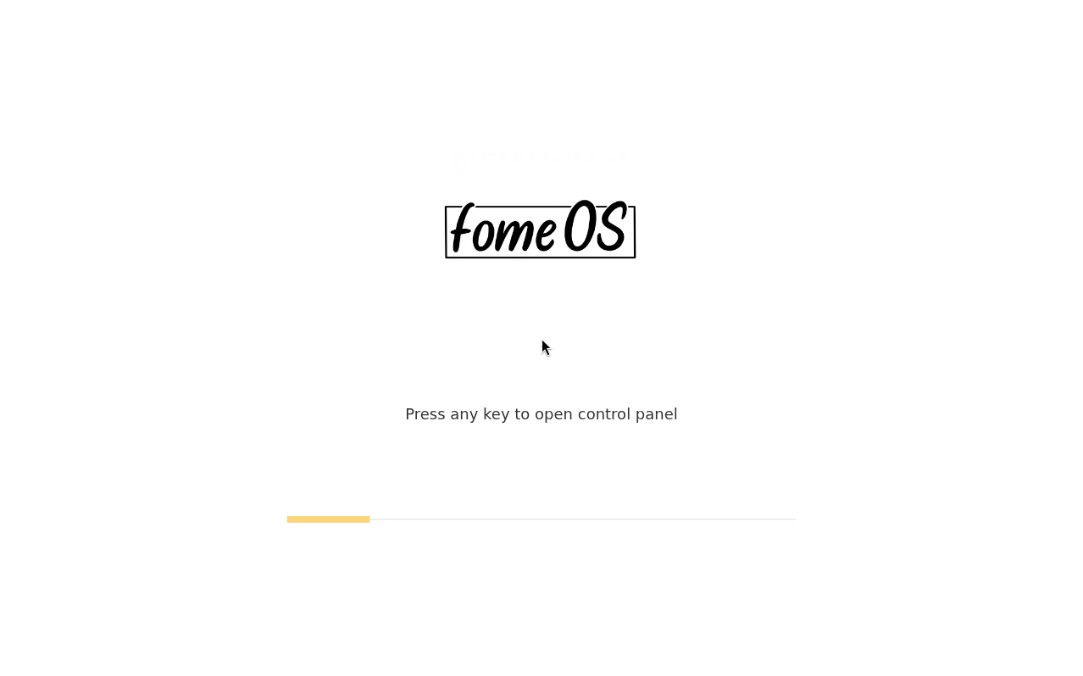
fomeOS loading screen
Step 11: First Login
Enter your credentials:
User name: Enter the username fomeos
Password: Enter the default password fomeos
Click Log in to access the system configuration interface.
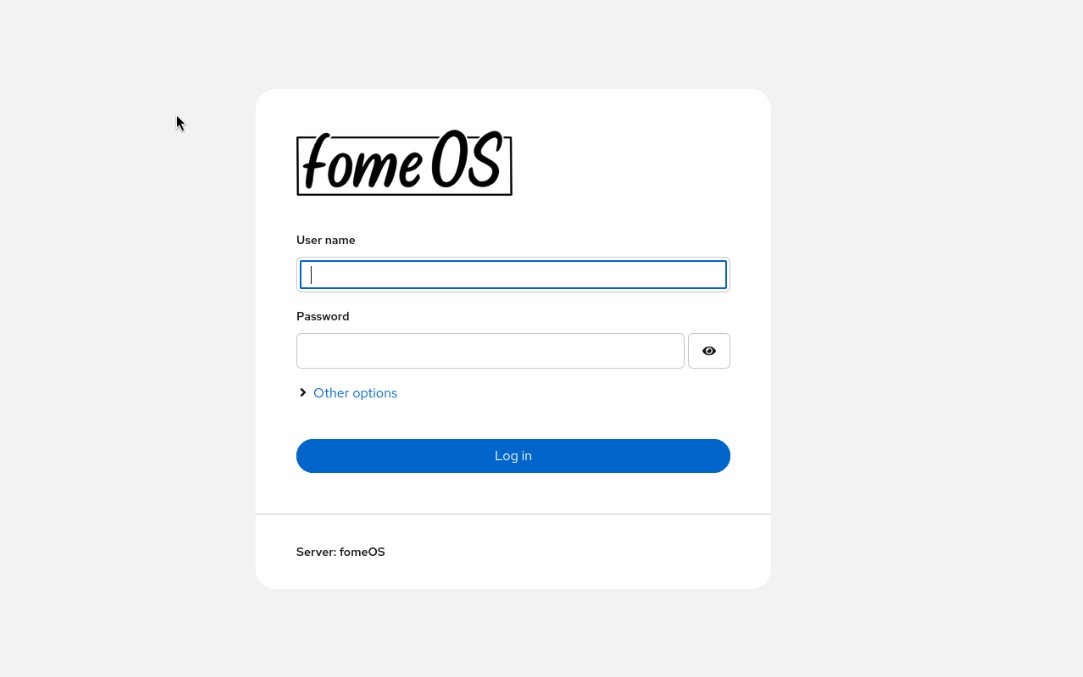
Login to your new fomeOS system
That’s it! You’re now ready to configure fomeOS. For more information on how to configure and use your new system, see the guide/configuration chapter.
For more help, see the faq section.